
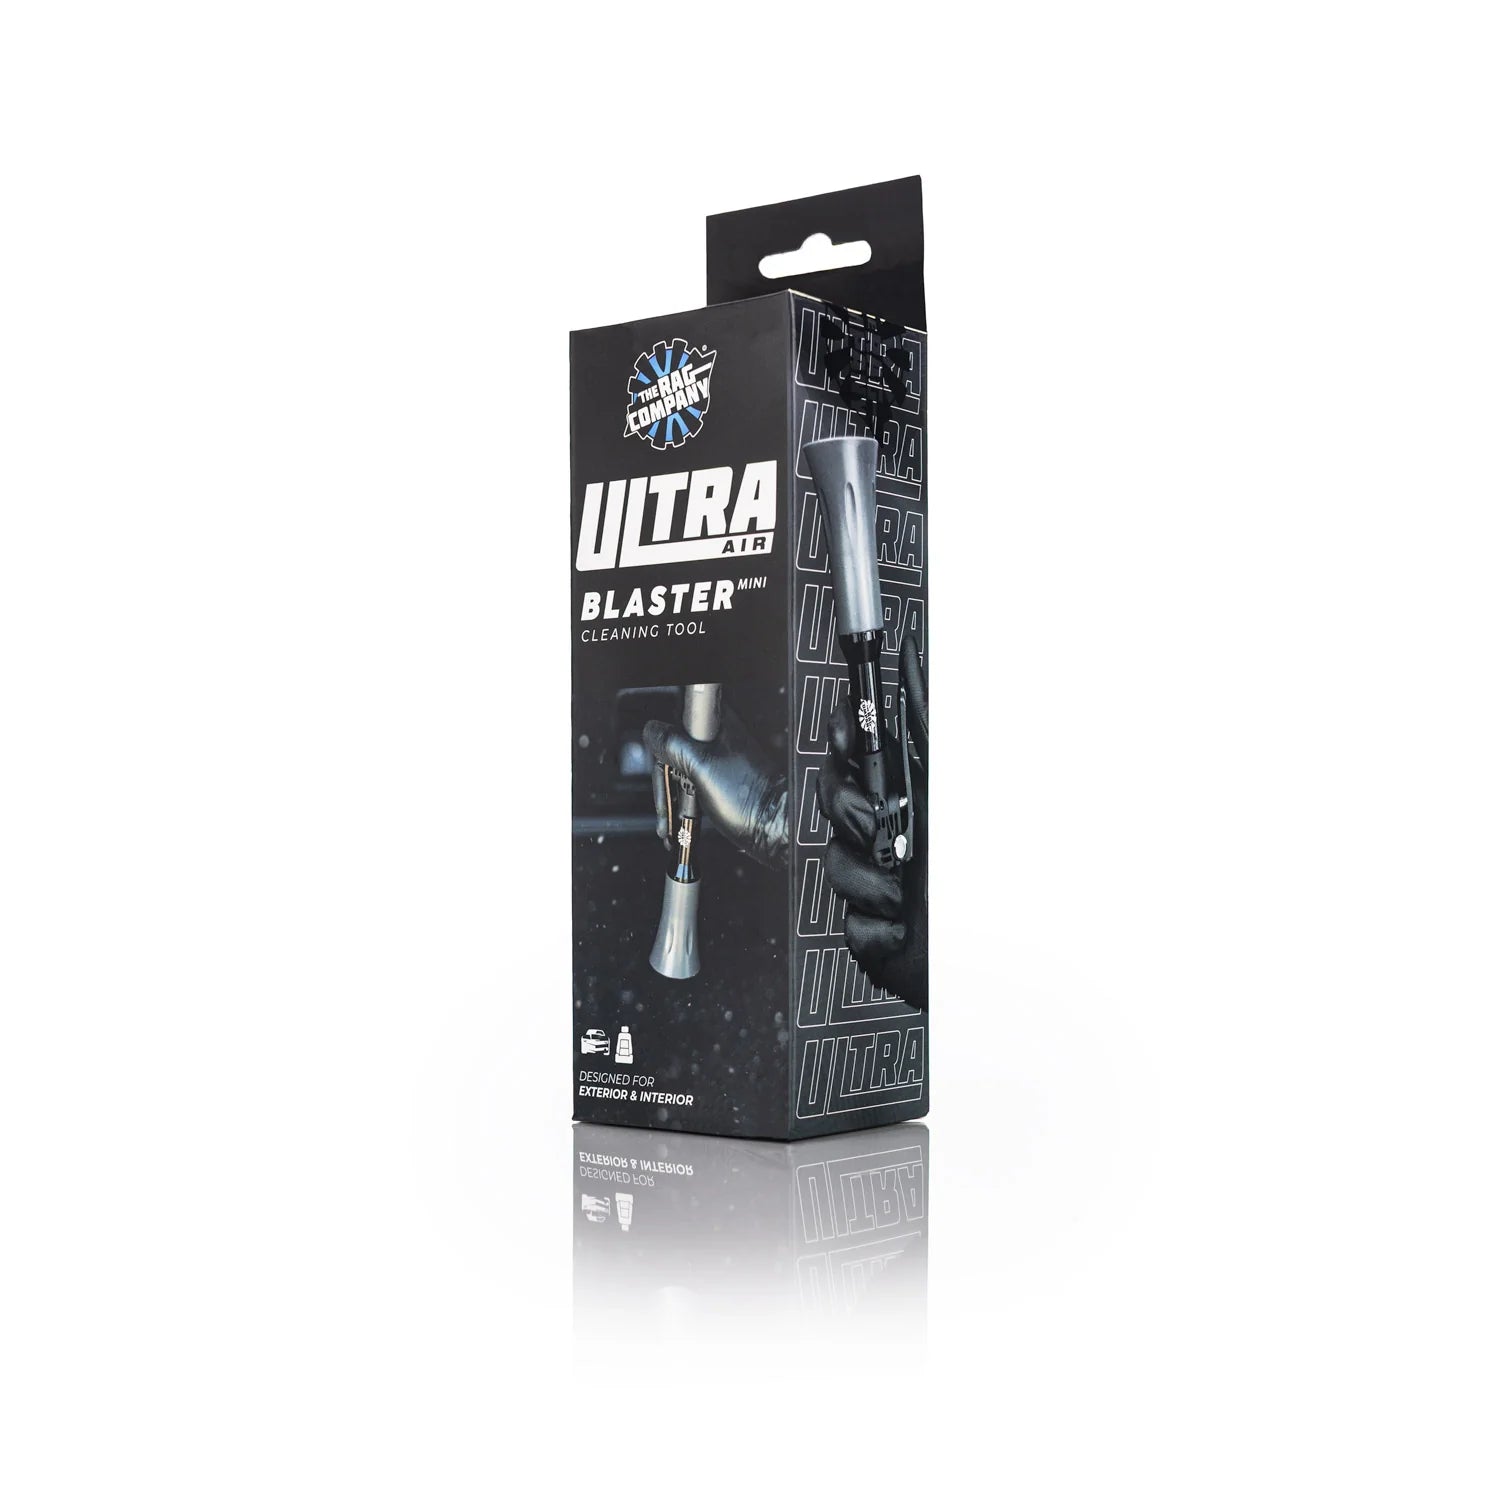


Description
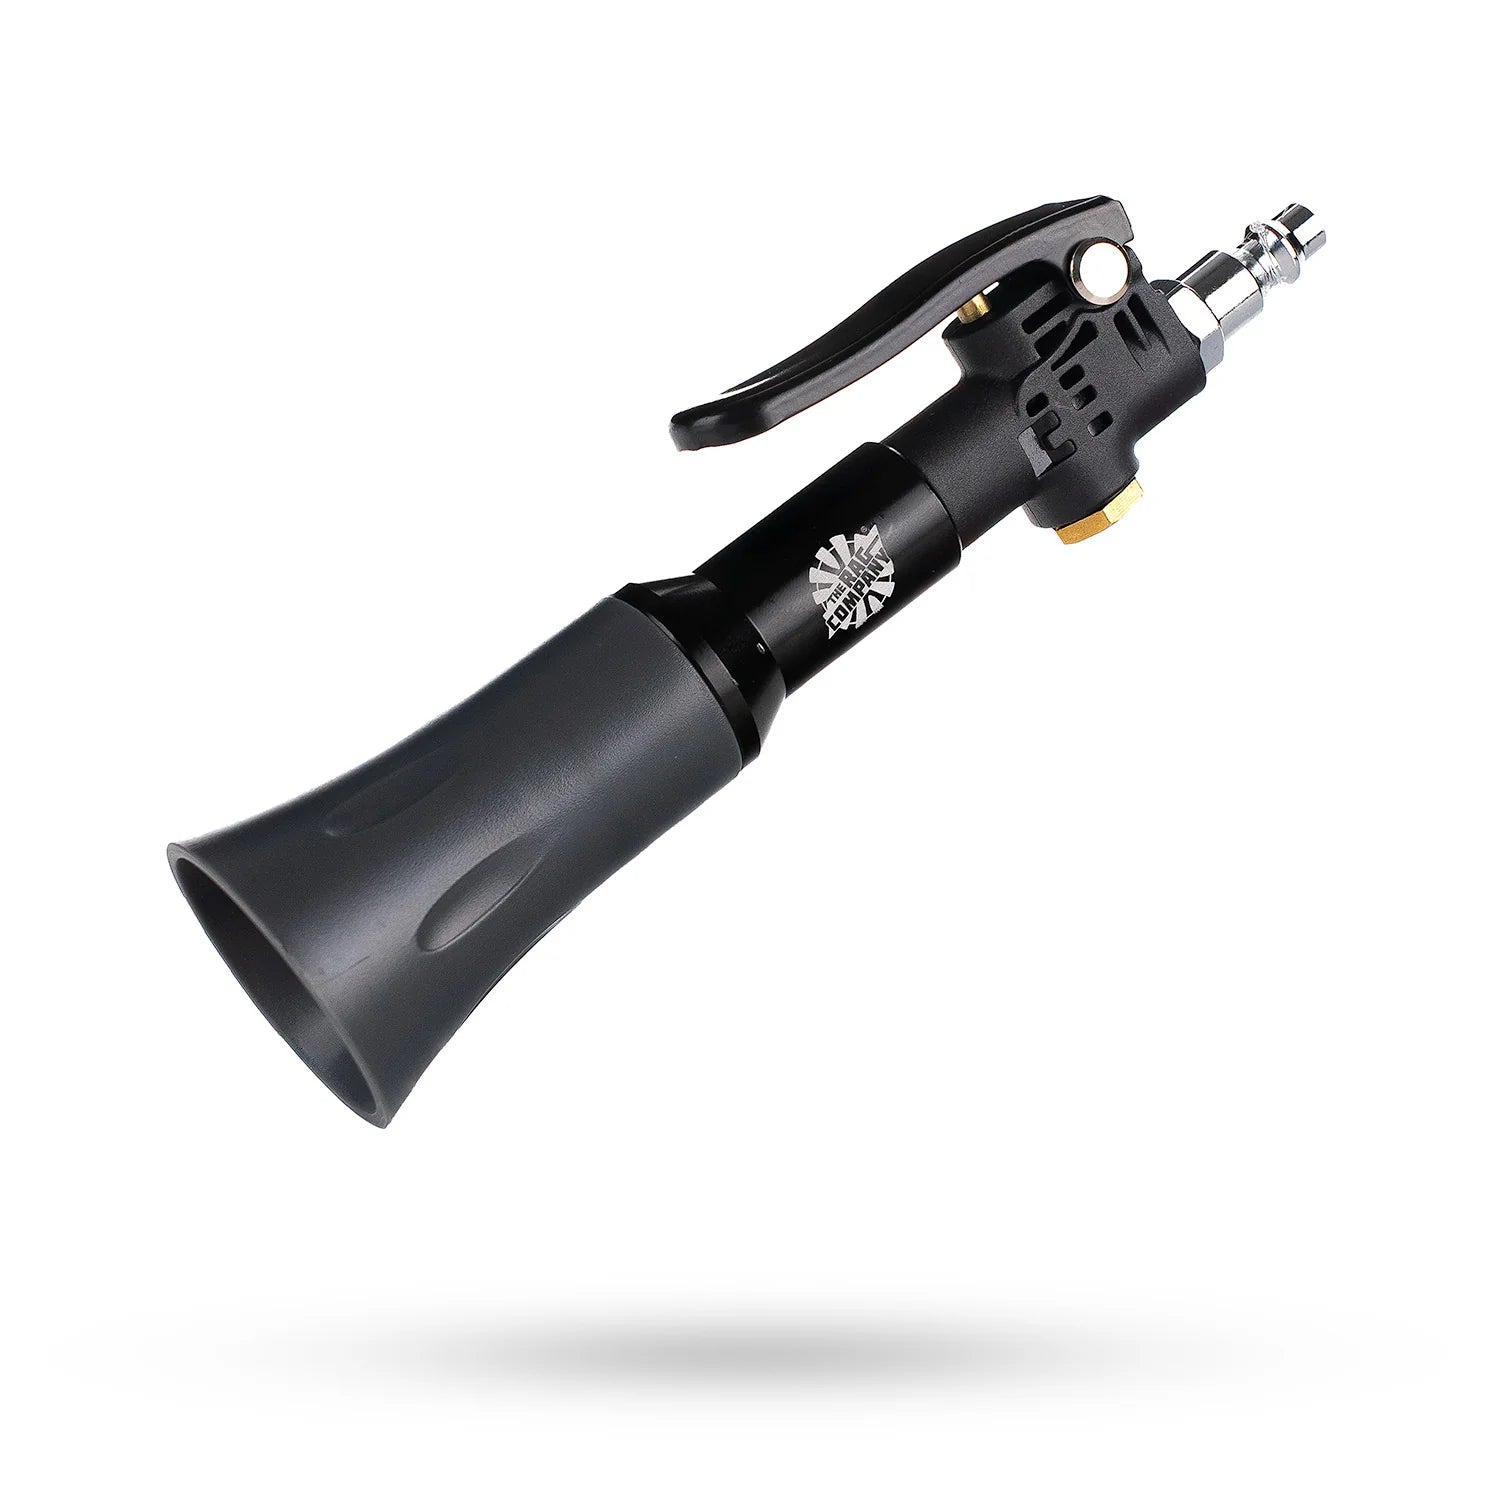
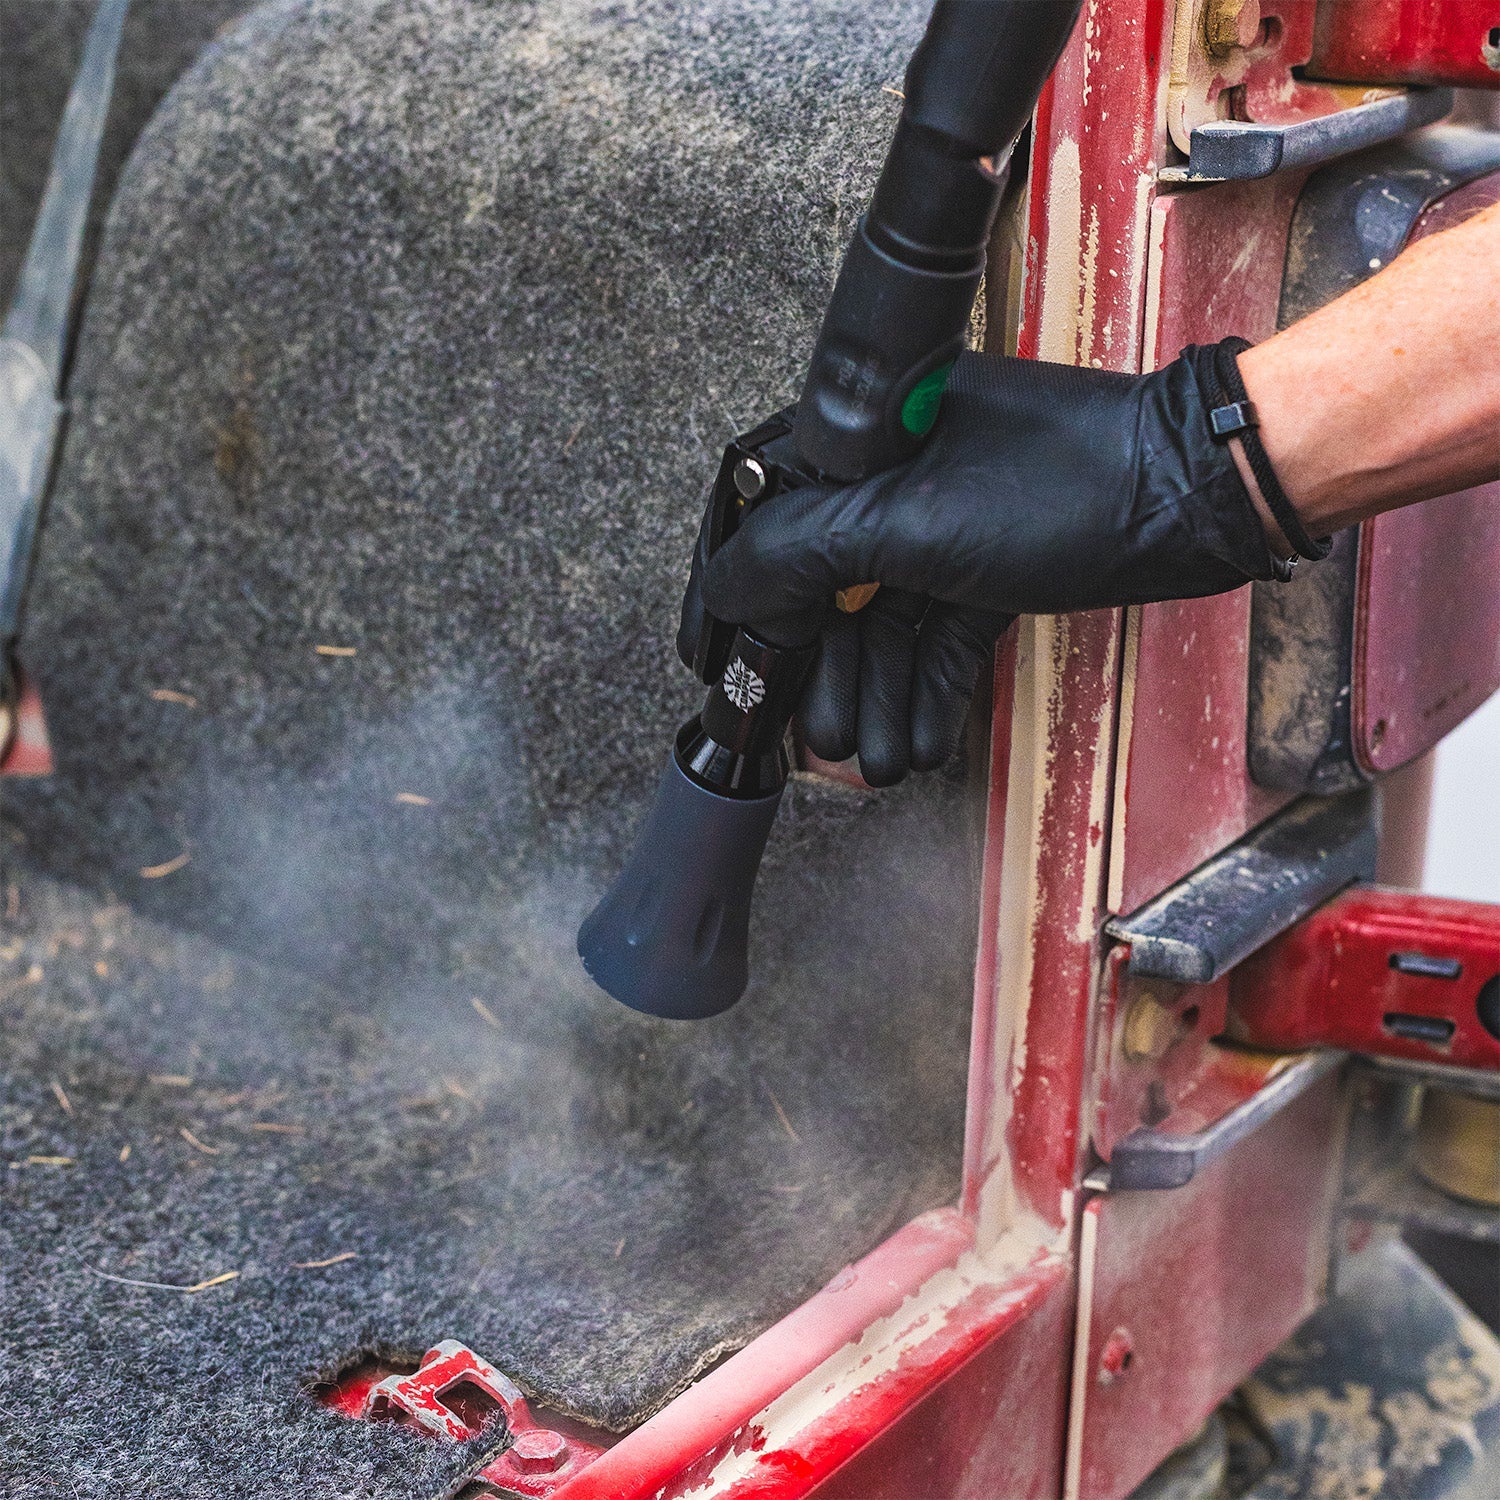
The ULTRA Air Blaster Mini delivers the same power and performance as its bigger brother, the Ultra Air Blaster, but with a smaller footprint. Use it to unleash a high-velocity vortex of air that blasts dirt, sand, and debris from carpets, upholstery, plastics, and even buffing pads.
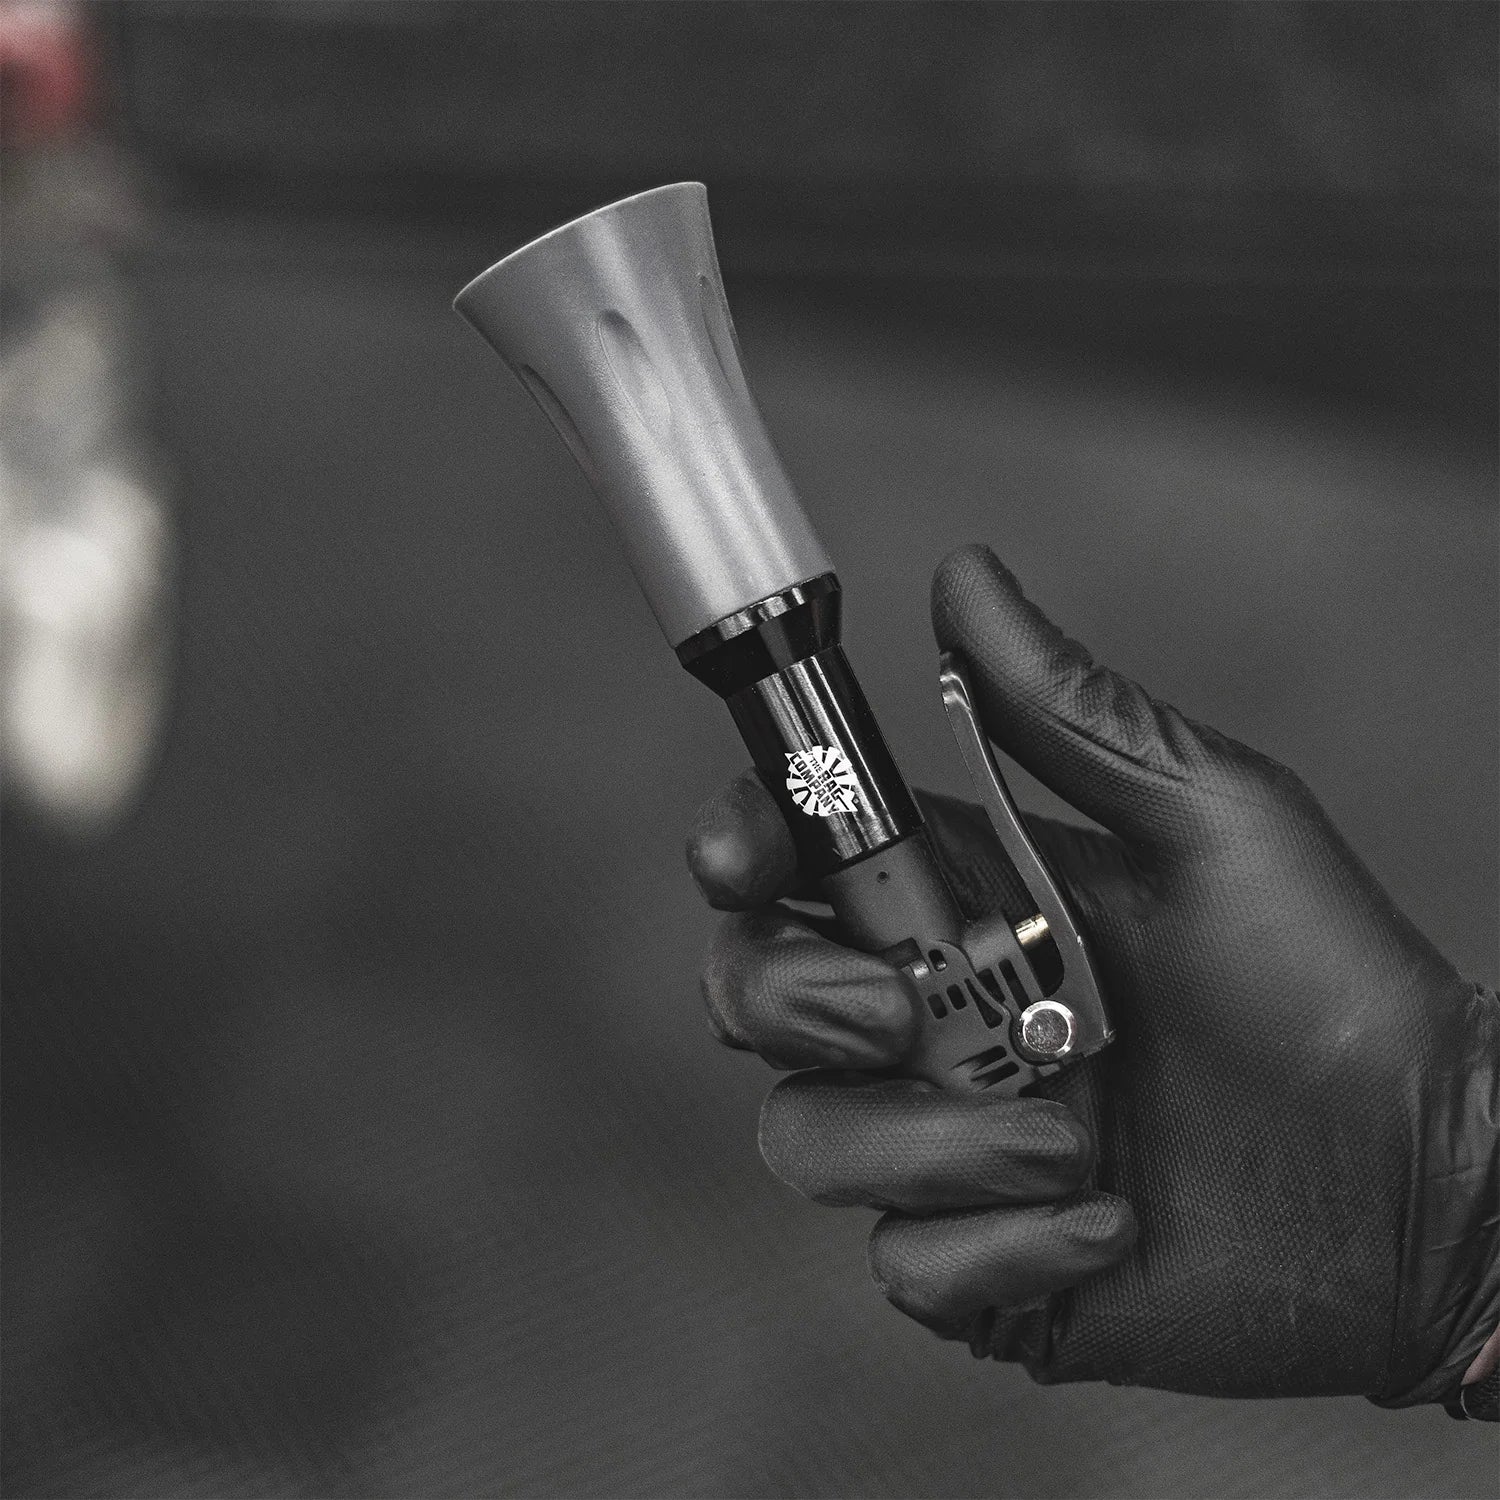
Built from rugged components, it's designed for durability and long-term use. Easily disassemble and reassemble it without worrying about cracks or damage. This trigger-operated tool features a removable trumpet and bearing set for quick maintenance and hassle-free cleaning.
Pro Tip: For best results, use with a 20-gallon or larger air compressor to maintain consistent airflow.
Why You’ll Love It:
- High-performance in a compact package
- Fits in hard-to-reach areas
- Removable cone and bearings for easy cleaning
What’s Included:
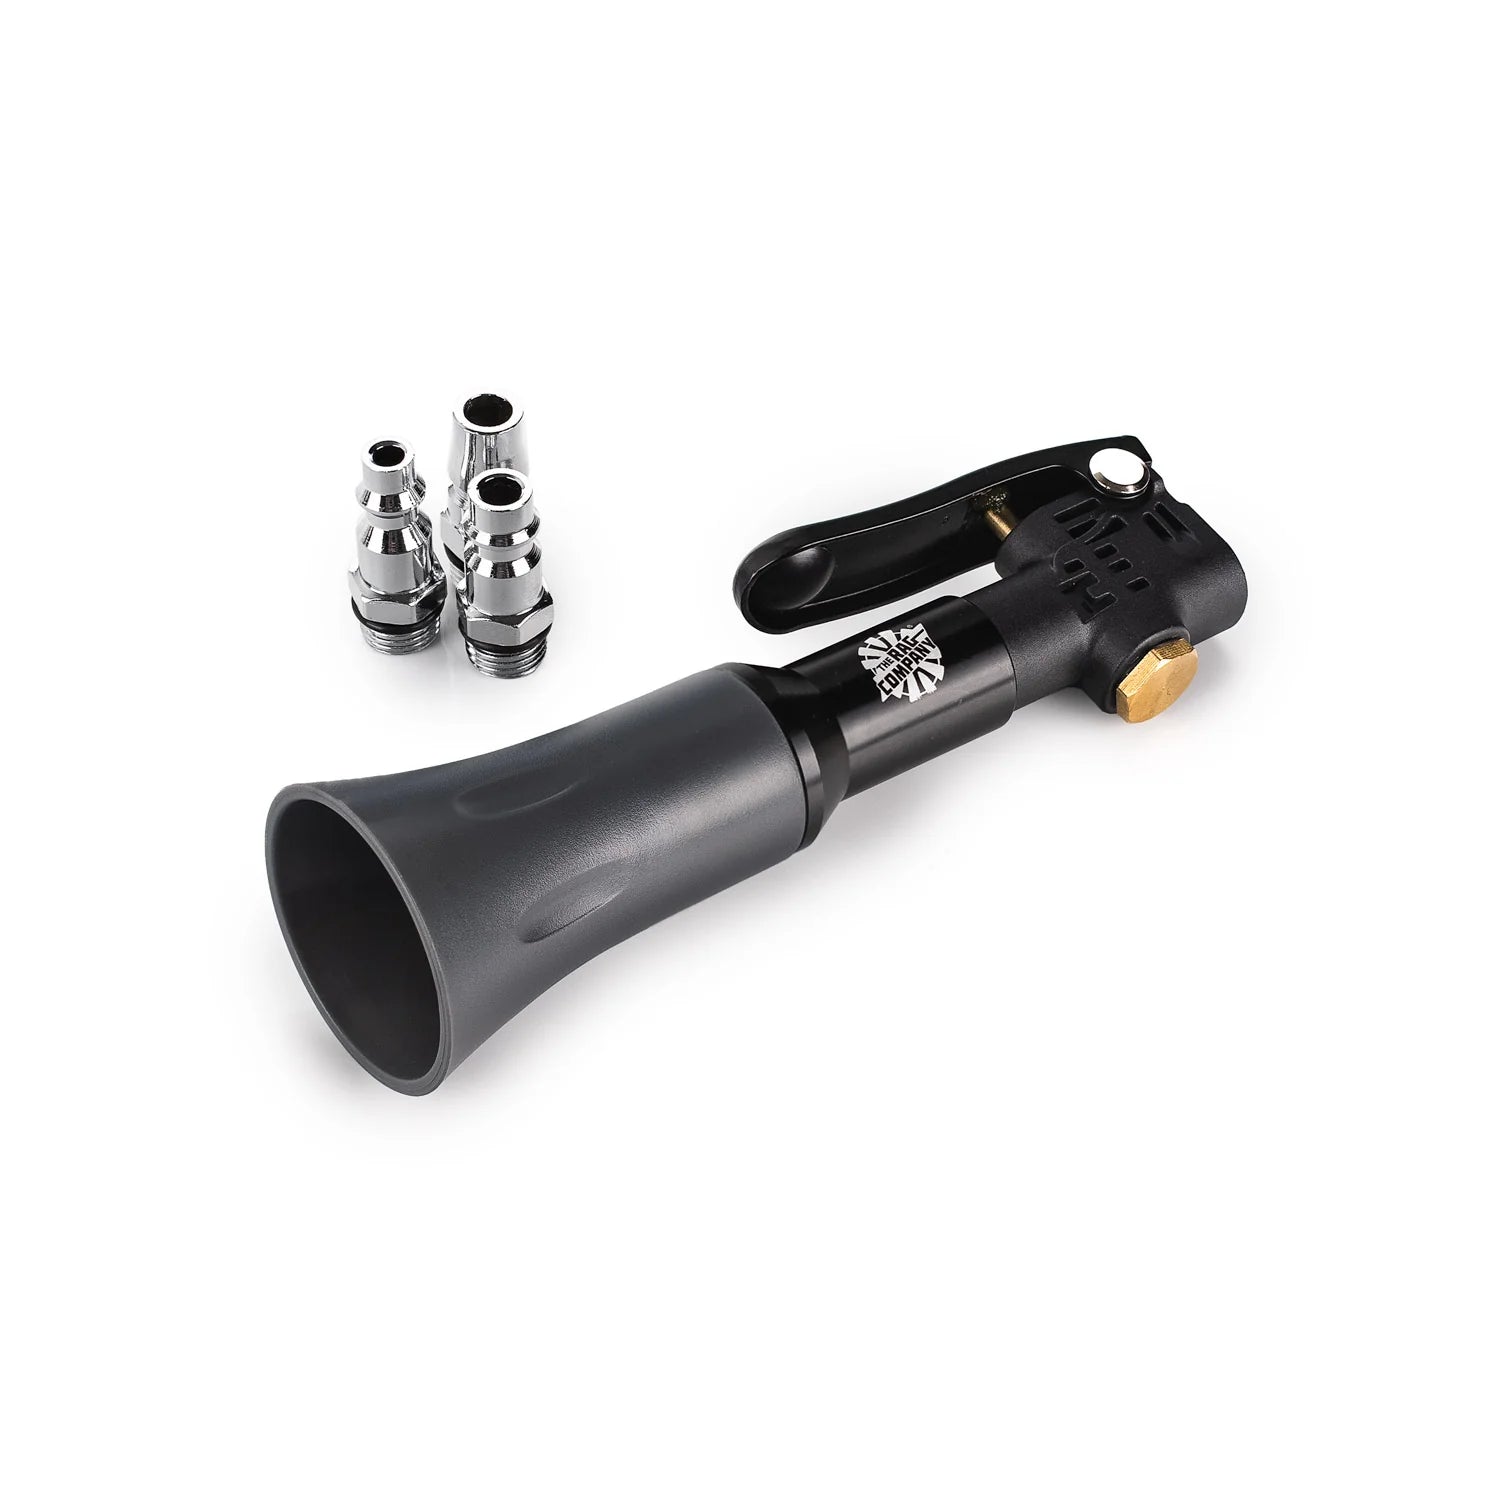
- High-velocity air gun
- Removable cone
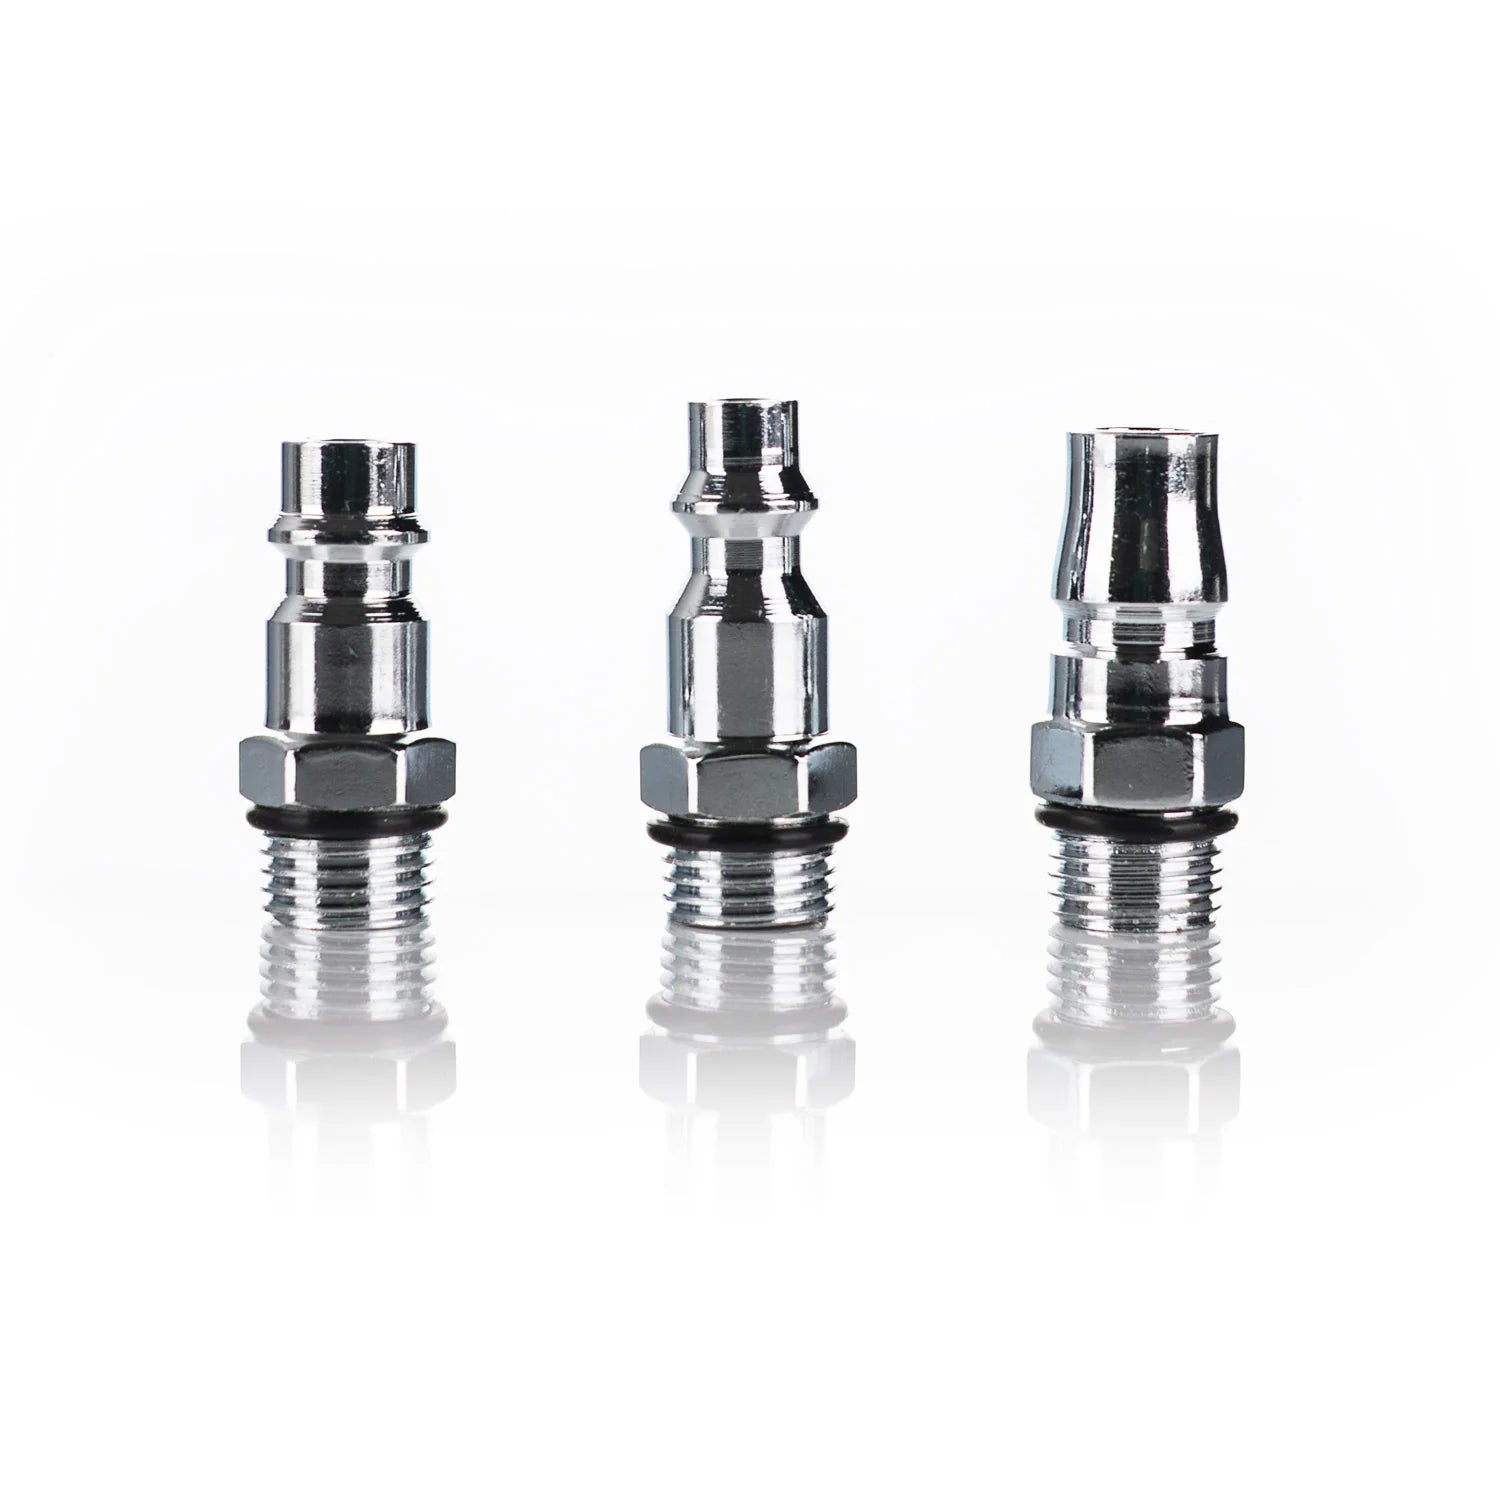
- 3 air fittings – US, Euro, and Japanese Standard
Perfect for Exterior & Interior Detailing on:
- Carpets
- Upholstery
- Plastics
- Blowing out Buffing Pads
Air Blaster V2 & Mini Maintenance Plan
Ensure long-lasting performance and avoid preventable issues like bearing seizure and moisture damage by following the routine maintenance steps below.
Monthly Maintenance Checklist
-
Lubricate Mechanical Parts:
Apply a few drops of WD-40 or similar lubricant into the bearing assembly. Use waterproof grease on the trigger mechanism. Pulse with air and pull the trigger several times to work the grease in. -
Use an Inline Moisture Filter:
Always connect the tool to a filtered air source. Desiccant or coalescing filters are best. -
Purge the Air Compressor Tank:
Use the valve at the bottom to release built-up moisture. Leave open until the next use. -
Inspect Nozzle and Air Path:
Ensure no debris or buildup is blocking airflow. -
Check PSI and SCFM:
Tool functions best between 90–100 PSI and at least 4.0 SCFM. -
Clean the Exterior:
Wipe down regularly to prevent grime buildup.
After Each Use:
-
Purge Residual Moisture:
Run the tool for a few seconds to clear internal condensation. -
Purge the Air Compressor Tank:
Open the valve at the bottom of your air compressor tank and leave it open until the next use. This prevents moisture buildup inside the tank. -
Proper Storage:
Store the tool with the nozzle facing downward so moisture drains away from internal parts. -
Disconnect Air Supply:
Detach hose to prevent pressure damage or accidental activation.
Replacement Parts V2 Only & Mini
The V2 model includes serviceable components. If bearings begin to wear (e.g., the tool stops spinning or emits a grinding sound), replace them using the official bearing kit. This extends the tool's life and avoids full unit replacement.